how to dye fabric with blueberries
•03.27.2020
01
INTRO
With a majority of us staying home now, we’re faced with an oddly arduous re-learning (or simply learning) of how to slow down. And though there certainly should not be pressure felt to focus on productivity in times that weigh so heavily on us, our loved ones, and communities, we also shouldn’t be hesitant to lean into creativity with our newfound free time. For me, it has always been a positive and essential means of escape and it could be for you too. On the topic of creativity: every single human is creative. You don’t need to be a painter. You don’t need to be a musician. You don’t need to be a ceramicist. You don’t need to be anything. You just need your hands and a willingness to try something new.
In particular, dyeing with natural dyes is a wonderful and stress-relieving creative activity for anyone. It is also a gentle teacher of patience, joy, resourcefulness, and sustainability. All of those lessons are more important now than ever before. So let’s get started.
WHAT IS MORDANT?
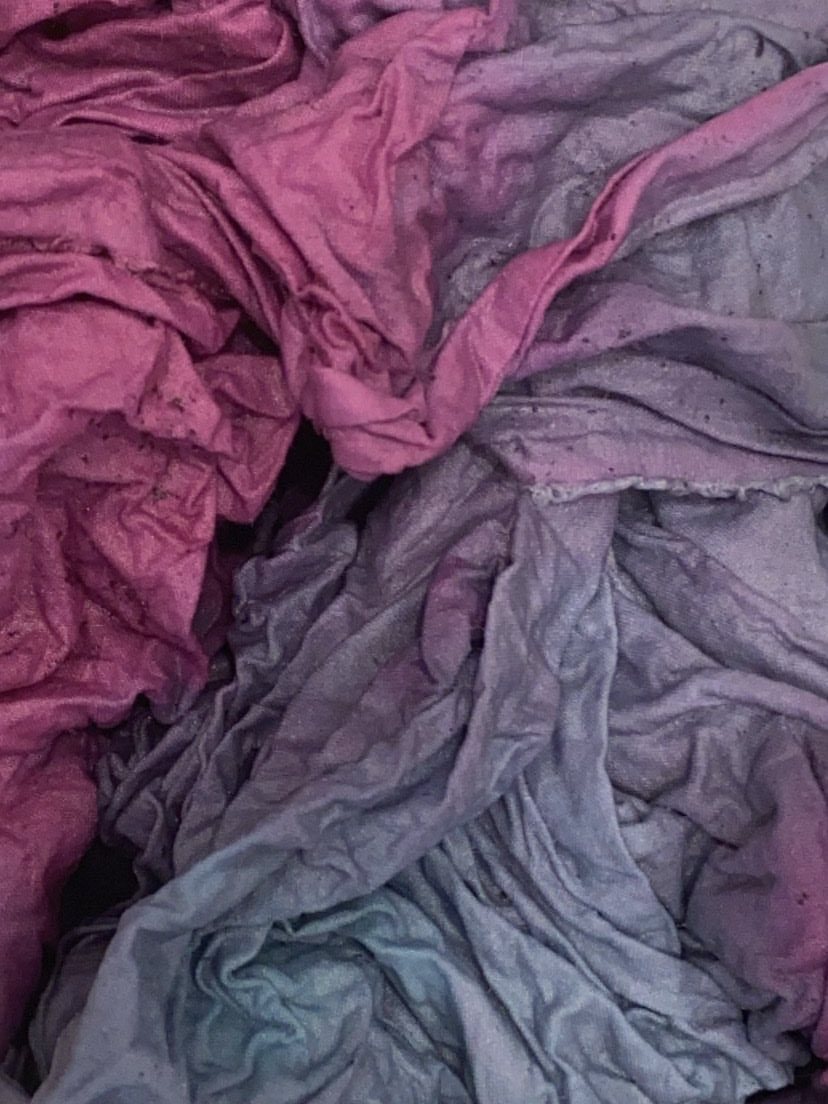
Mordant (aka fixative) is a substance used to set dye on fabric. But it does more than that. Iron mordant darkens or deepens the color of the dye. Though a salt fixative is sufficient for blueberry dye, the iron mordant gives you a richer blue (or purple) hue, which I find desirable and more worthwhile.
![Rusty Nails Immediately After Dropped into the Water/Vinegar Solution]()
![]()
(Mordant, initial phase vs ready to use.)
HOW TO MAKE IRON MORDANT
I mentioned dyeing teaches resourcefulness. Here’s the first time that’s introduced. Go into your yard or go for a walk and look for rusty nails. It’s surprising how many places you’ll find them. I extracted mine from some old pieces of wood that were at a point in time used to hold a makeshift compost bin in my yard. Collect your nails and bring them home. Rinse them off in the bathroom sink. Find a jar (the jar must be dedicated to mordant-making only). Combine the following:
•2 Parts Water
•1 Part White Vinegar
•Handful of Rusty Nails
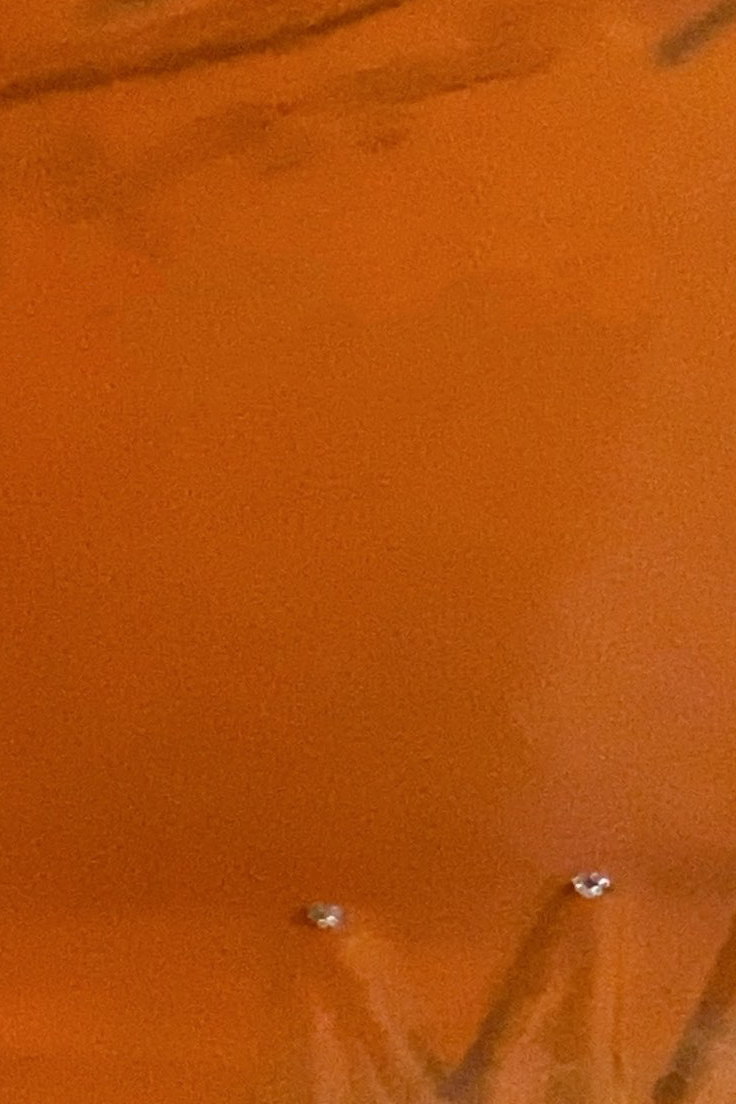
Do not put a cap on it. Keep it out of reach of pets and children. Within a few days the solution will turn orange. And once it does, it’s ready to use!
WHAT IS MORDANT?
Mordant (aka fixative) is a substance used to set dye on fabric. But it does more than that. Iron mordant darkens or deepens the color of the dye. Though a salt fixative is sufficient for blueberry dye, the iron mordant gives you a richer blue (or purple) hue, which I find desirable and more worthwhile.
(Mordant, initial phase vs ready to use.)
HOW TO MAKE IRON MORDANT
I mentioned dyeing teaches resourcefulness. Here’s the first time that’s introduced. Go into your yard or go for a walk and look for rusty nails. It’s surprising how many places you’ll find them. I extracted mine from some old pieces of wood that were at a point in time used to hold a makeshift compost bin in my yard. Collect your nails and bring them home. Rinse them off in the bathroom sink. Find a jar (the jar must be dedicated to mordant-making only). Combine the following:
•2 Parts Water
•1 Part White Vinegar
•Handful of Rusty Nails
Do not put a cap on it. Keep it out of reach of pets and children. Within a few days the solution will turn orange. And once it does, it’s ready to use!
Supplies
Almost all supplies required for dyeing are common household items. For any dye project you will need a stock pot dedicated to dyeing only. The pot should be stainless steel, as the material does not react with acids or bases to alter the color of your dye bath; you also won’t have to worry about chipping, scratching or rusting. If you don’t have an old one in your kitchen, you can find inexpensive pots at thrift stores (although that’s not really an option at the moment). Essentially, this is the only investment you’ll need to make before you start.It is important to note that all of the items you find and use for dyeing should not be reused in the kitchen for meal prep or cooking. Though iron is commonly found in water supplies and isn’t as toxic (in the diluted form we’ll be using) as most of the ingredients found in chemical or synthetic dyes, it can be harmful in large quantities when ingested. So keep your dye kit separate from your kitchenwares. You will need the following:
•Blueberries
•Water
•Stock Pot (dedicated to dyeing only)
•Large Bowl
•White/Off-white Fabric or Garment
•Iron Mordant
•Salt
•Soap (I use this one)
•Strainer
•Spoon
•Tongs (optional)
•Reusable Rubber Gloves