03
required, I do recommend putting some sort of tray under the pot. You are working with dye and if you spill or drip and fail to clean it right away, your tub will stain.
SUBMERGE THE FABRIC
This part is the most satisfying. At this point, you should put on your rubber gloves. You will be wearing them for the majority of the process beyond this point. Make sure your fabric isn’t folded; it can be scrunched up. Carefully submerge your fabric into the dye bath. Push it down with a spoon so the dye covers all of it. The longer it sits in the bath, the darker the color will be.
If you’ve never dyed fabric before, it may be harder for you to tell when it is ready. Blueberry dye is especially tricky because it’s purple in the dye bath and blue after we treat it with a rinse and soap bath. Although, you may add soap (basic, blue) or vinegar (acidic, purple) directly into the dye bath to alter the color and forgo a bit of the guesswork, I feel like a soap bath or vinegar bath post-dye give you more control over the color you want to get. I recommend cutting an unusable old tee into strips and experimenting prior to committing to the pieces you actually want to dye.
SO WHEN IS IT READY?
There is no set formula for how long you should keep your fabric in the dye bath. There are many variables that alter how the color takes. The only thing certain is that the fabric will be much lighter than it appears after the dye bath or even after the initial rinse post-dye. With that in mind, your goal is to get as dark a color as possible. For reference, I can say that I let pillow case sized items (t-shirts too) sit for about 30-40 minutes; this is actually quite a short amount of time for natural dyes. Remember to stir the fabric around in the pot at least twice while it soaks. The larger the item, the longer it must soak. The more items you’ve already dipped, the longer an additional one must soak.
I recommend starting with a smaller item first to get an idea of what color it should get to and how long it should soak for before trying something bigger.
POST-DYE
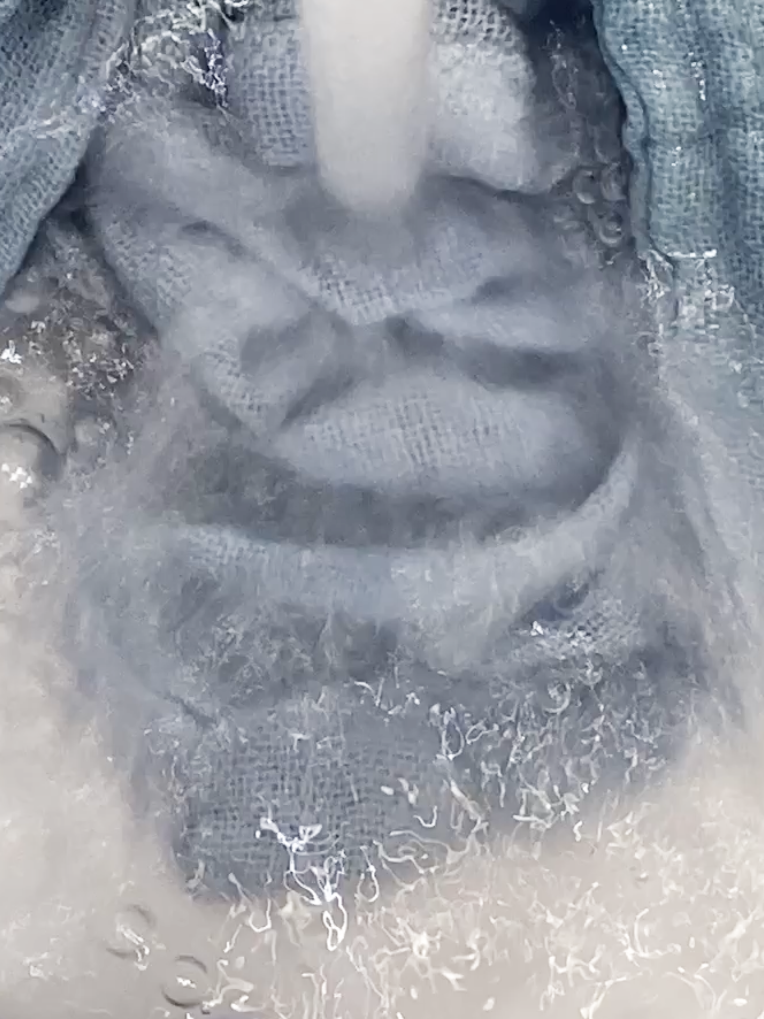
Once the fabric reaches your desired hue, remove it from the dye bath. Carefully wring out the item over the dye bath to save every drop of dye and prevent drips in the bathtub. Head over to the sink and begin rinsing the fabric in cold water. Upon contact, its color will start changing to a bluer hue. This part is quite spectacular to witness. Next to dipping fabric, I’d say it’s my favorite part of the whole process. Continue rinsing until the water from the item runs a medium blue.SOAP BATH
My goal was to get a blue out of my dye, so I created a basic bath for the material to soak in. Here, I abandoned the ratio of soap to water and just poured enough soap in to make a good layer of bubbles. Upon dipping and swishing around the fabric you’ll notice 2 more spectacular events: the water in the bowl will turn purple and the fabric will take on a green-toned blue, rather than the cold blue post-rinse.
SECOND RINSE
The purpose of this rinse is to remove the soap from the fabric. As you rinse, the fabric will again slightly change color. From the vibrant blue-green it took on in the soap bath, it will become a more muted tone similar to the one achieved after the first rinse, however it will maintain that warmer tone of the blue-green.
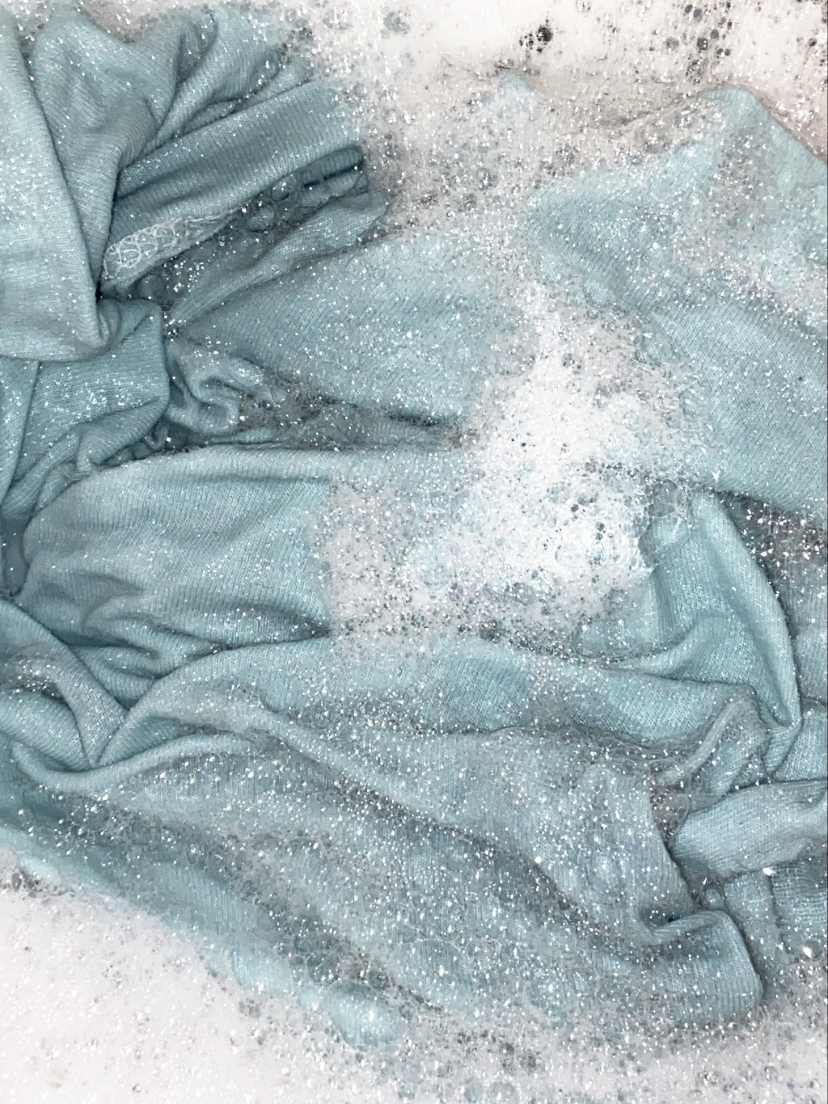
(First rinse vs. soap bath color difference.)
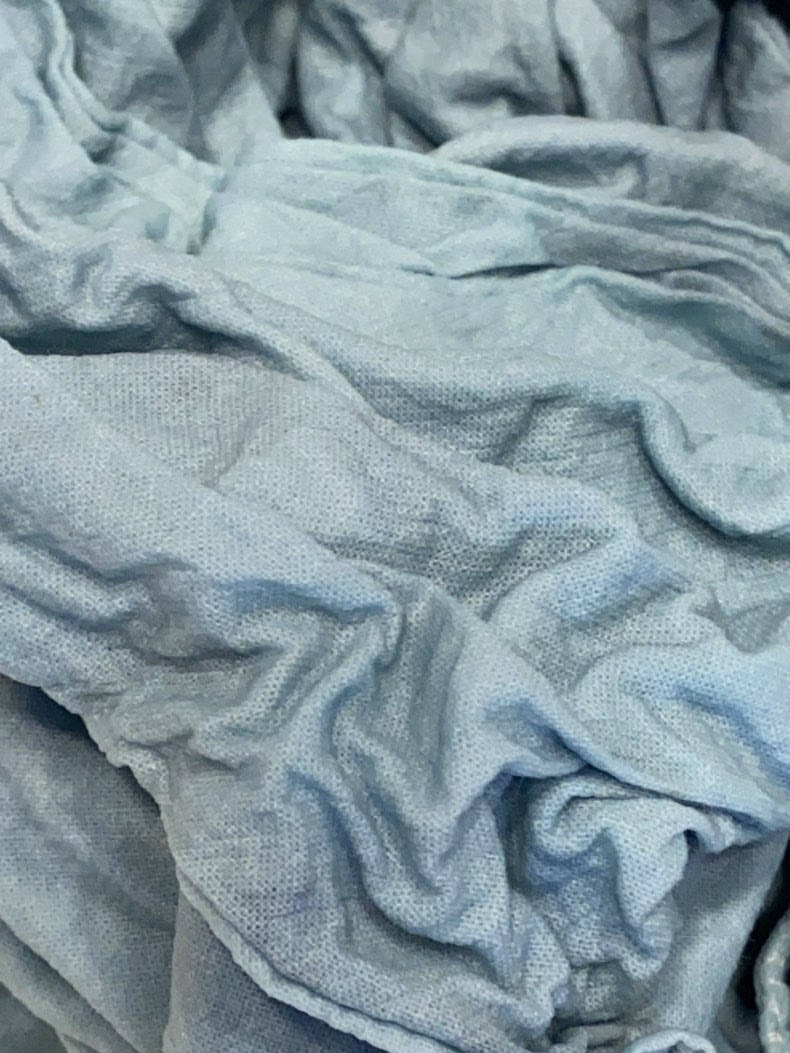
FINAL RINSE
After the soap is removed from the fabric, turn off the water and squeeze the fabric. If there is still a hint of blue running off, straighten out the fabric and do one more rinse, covering its full surface area until the water runs clear when you wring out your dyed piece. The color will look similar to the photo at the very top of this page.